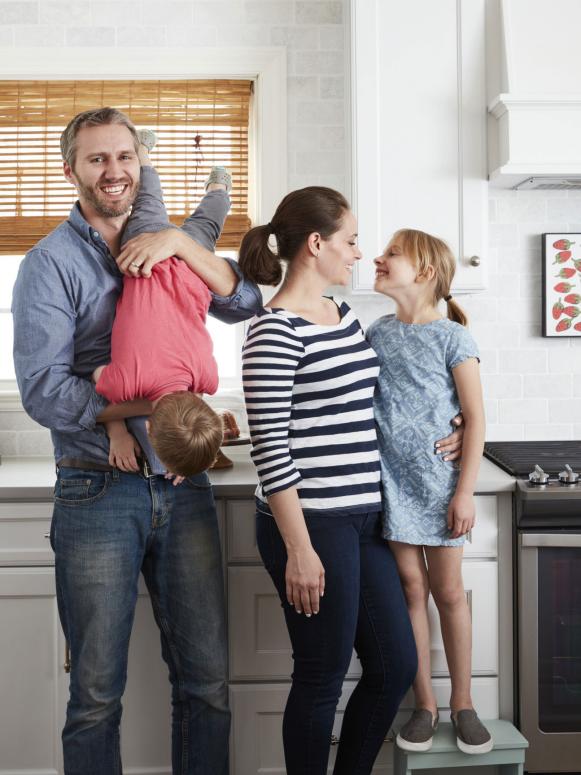
Some homeowners race to renovate before move-in day. Not Sherry and John Petersik. After buying their early-’80s Colonial in Richmond, VA, the couple behind the popular blog Young House Love (and the authors of Lovable Livable Home) took their time making improvements — three years, to be exact. “If you renovate a kitchen before you’ve lived with it, you may miss out on a game-changing idea,” says Sherry. For them, that biggie was overhauling the floor plan. The original cooking space couldn’t accommodate more than one person at a time. “It was like bumper cars in there,” says Sherry. Temporary cosmetic upgrades — painting the cabinets, losing the wallpaper, resurfacing the laminate counters — made the dated room more bearable while they strategized a gut reno. This is what they learned along the way. 1. Measure everything! Pendant lengths, how far the dishwasher door extends when open, you name it. That bit of effort saves lots of time. The first set of barstools the Petersiks ordered were counter-height…except for the armrests that didn’t fit under the island’s top. Oops! These new weathered wood ones are from World Market.
2. Use painter’s tape to figure out pulls. When the couple couldn’t decide what size pulls to put on the lower cabinets, they reached for painter’s tape to visualize different lengths. (The winner: 7 ¾-inch polished-nickel pulls by Atlas.) They bought knobs in the same finish for the uppers.
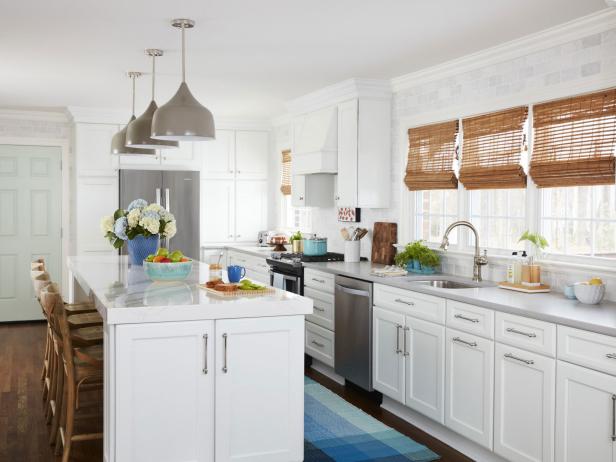
3. Choose a backsplash you’ll like for a long time. At first the Petersiks considered a glossy veined marble tile to match the island’s veined quartz countertop. “But it was a little trendy and we worried we’d get over it,” says Sherry. Instead they went for timeless tumbled-marble 3-inch-by-6-inch subway tiles from The Tile Shop.
4. Decide which splurges are worth it. A key question to ask yourself: Will you get a big return on the cost in practicality — or joy? In Sherry and John’s case, they scored both by installing smaller windows so they could fit lower cabinets along the wall. The matte gray quartz counters were another good investment.
5. Accept that some ideas won’t fly. Sherry and John were gung ho for new white upper cabinets and oak lower ones. They tested out the two-tone look by first painting the existing uppers white. “We immediately realized it would still be too much wood once the hardwood floors were installed,” says Sherry.
6. Kitchen desks: good in concept, not in reality. The old kitchen had a desk area the Petersiks lived with for a while, to their dismay. “Between the kids’ schoolwork, party invitations, shopping bags and everything that got dropped there, it was hard to keep it tidy,” says Sherry. They scrapped it during the reno for cabinets that store vases, candleholders and trays…and now put paperwork in the office.
7. A little open shelving goes a long way. “A couple rows break up the boxiness of cabinetry and show off pretty pieces,” says Sherry. She made planks of reclaimed pine look weathered by soaking a steel wool pad in vinegar for a full day, dipping a rag in the brew, and rubbing it on. The polished-nickel brackets are from Rejuvenation.
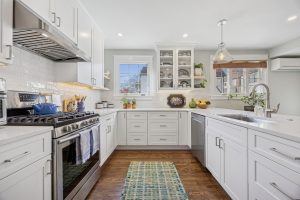
8. Realize that stuff can grow on you. The oak floors on the first level had a lighter finish “than we ever would have gone for,” says Sherry. “But the longer we lived here, the more we realized how well it hides dust and crumbs.” After installing new wood floors from Howdyshell Flooring in the kitchen, they had the existing floors in the other rooms sanded, then stained them all Provincial by Minwax for consistency.
9. More isn’t always better. John and Sherry were tempted to upgrade the range to six or eight burners. “Then we realized we didn’t even use the five burners we had!” says Sherry. Moral of the story: “Avoid cramming in features you don’t need.” A slimmer stove meant a slimmer hood — and more upper-cabinet storage.
10. Keeping dishes in drawers is life-changing. As the resident dishwasher unloader, John is passionate about this idea — one he swiped from his sister’s house. Now he can grab clean bowls and plates and put them away without having to bend down and reach up. “It’s so much easier,” he says, “and our oldest kid can help!”